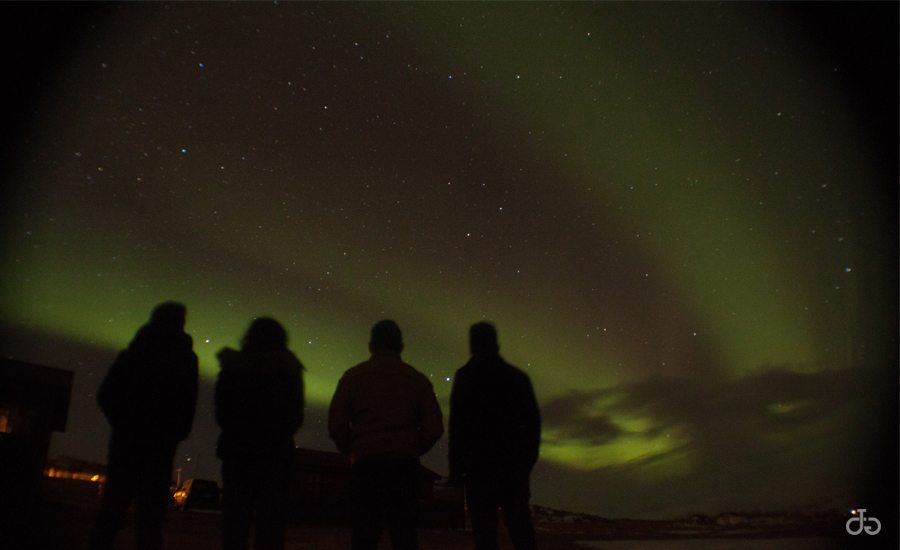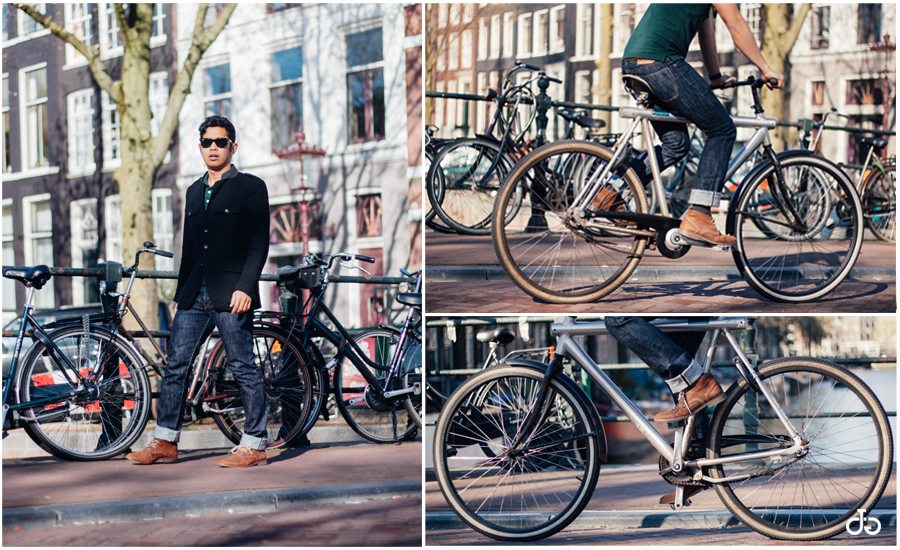
Hi all, this post will be about my motorized camera slider that I made myself for a relatively cheap price. While I was busy taking photos for the Amsterdam Light Festival, I started to take interest in time lapse photography. What is a time lapse you say? It is basically taking the same pictures with constant interval and then stack them together to make video. The video will appear much faster than it really is. For me, it gives us the opportunity to see things that we otherwise would not notice. For instance, the slow movement of a cloud and slow movement of a boat. Because it requires to take the same view pictures over a certain period of time, the camera has to be steady. Therefore, a tripod is a must.
In addition, pressing the shutter button when taking a picture can and will shake the camera and most likely will alter the image. Therefore, some kind of remote button is necessary. Some people install firmware “the magic lantern” into their camera, this firmware enable the camera to take the picture automatically with certain interval. I, on the other hand, bought the canon RS-60E3 remote button.
The first footage of time lapse that I took was the Intrepid. Please check the footage bellow.
In this 10 seconds footage there are 240 pictures (24fps), therefore it took me 240 x 5 sec interval = 1200 seconds or 20 minutes. I soon discover however that my RS-60E3 was not very helpful because it required me to press the button every time. This was quite a pain. I remember holding my phone on my left hand to see the time and pressing the remote with my right hand every 5 seconds. This made me looking at my phone constantly for 20 minutes! Finally, to overcome this issue I decided to buy the intervalometer. Come to think of it, I didn’t know why I even bought the remote shutter button.
As you can see how the cloud was moving and retrieving to the horizon. I was amazed when I put the footage together at home. This feeling of seeing the final clip and discovering things that we would otherwise missed is the reason why I love time lapse.
Overall, I was quite happy with my time lapse footage but when I was watching other people’s work. I began to develop some interest in a camera slider. Having the camera sliding while taking the footage give a new dimension to my time lapse. In order to have that I need a couple of things. First, the slider which I discovered very quickly cost around €100-200,-. This is just for a slider! I therefore search through markplaats and found used on for €70,- (including a ball head, good deal!). Second, the motor which will move the camera at a very low constant speed. This again I discovered is very expensive (more than €300,-. Thinking that is too much to pay, I decided to make on myself and this is what this post is about. I mainly follow this guidelines. In total it cost me €200,- for all.
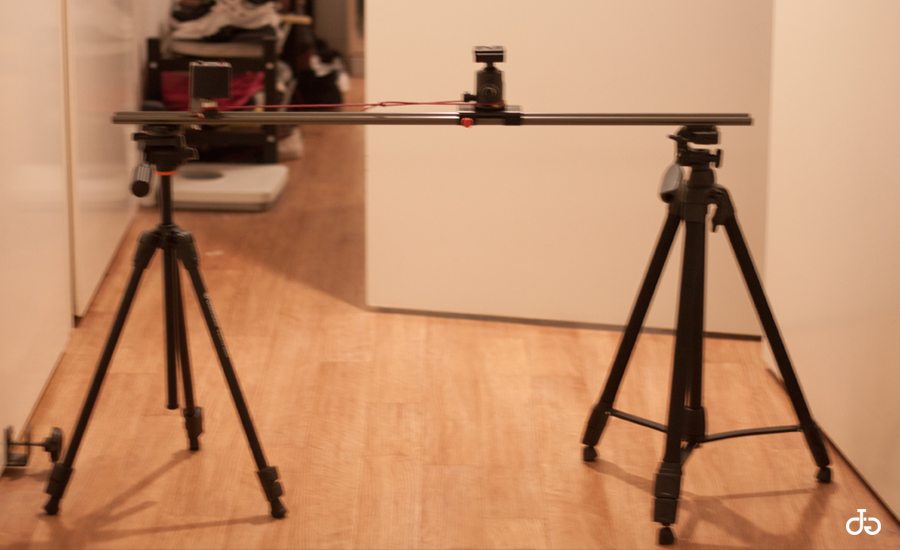
I bought the Celestron Motordrive AstroMaster motor for €49,- from Ganymedes.nl. Apparently, this is the motor they used in telescope (how cool is that!). I quickly went to Hardware stores (Gamma) for some nuts and bolts. To get the height that I want, I bought a smaller tripod so that I can suspend my slider from both ends. Here is how the slider looks like in details:
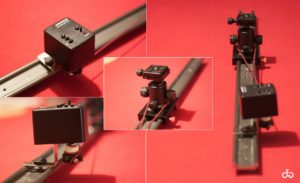
Top left is the celestron mootordrive, it has a power button and a red indicator lights, a speed nob to change the speed of the slider, and a switch for N or S (orientaion of the motor). I stick the motor with with the shoelace in which when the the motor rotate, it will pull the shoelace. On the other end (middle picture, I just wrap the ball-head with the shoelaces. The whole slider looks like the left pictures. I can put it at the same level with two tripod (as seen in top photos), but the motor can only pull the camera.
I can move the motor to either side so the camera technically can move from left to right or the other way around. The other trick that I used is to put the other tripod on a lower position and have the motor to release the camera (sliding down) from the weight of the camera. It took the motor 20 minutes to pull the slider from the other end on maximum speed. I suppose I could speed this up by having a bigger pulley. To make sure that the slider works, I tried it a couple of times first at home with my aquarium. I tried different moves, left to right, top to bottom, diagonal and so on. Here is the result:
I was quite pleased with the results. I like the contrast between the slow movement of the camera and the fast and randomness of the fish. The slider seemed to work and then I started to take time lapse for the Amsterdam Light Festival. This is one of the examples of a time lapse footage that I took with the slider. I did many more over the next nights.
The other thing that I learned from making timelapse video with slider is to have something in a close proximity as a perspective comparison. This is because the objects I was trying to capture are normally in a distant, and the slider moved very slow and not very far, even at 20 minutes it only moved around 20 cm. If you don’t have anything close as a perspective, you wont notice that the camera moved at all. As you might have notice I used a wooden pole in this footage. I compile all the footage into a video and posted in this post.
Overall, It was a very nice and rewarding experience. I didn’t know I can make a high quality video with very little learning time. This motivated me to learn more on how to use my camera and just about photography in general. See you guys in another post!